Common Purge Mistakes That Cause Sugaring (And How to Fix Them Fast)
Home » Common Purge Mistakes That Cause Sugaring (And How to Fix Them Fast)
16 Apr, 2026
Common Purge Mistakes That Cause Sugaring (And How to Fix Them Fast)
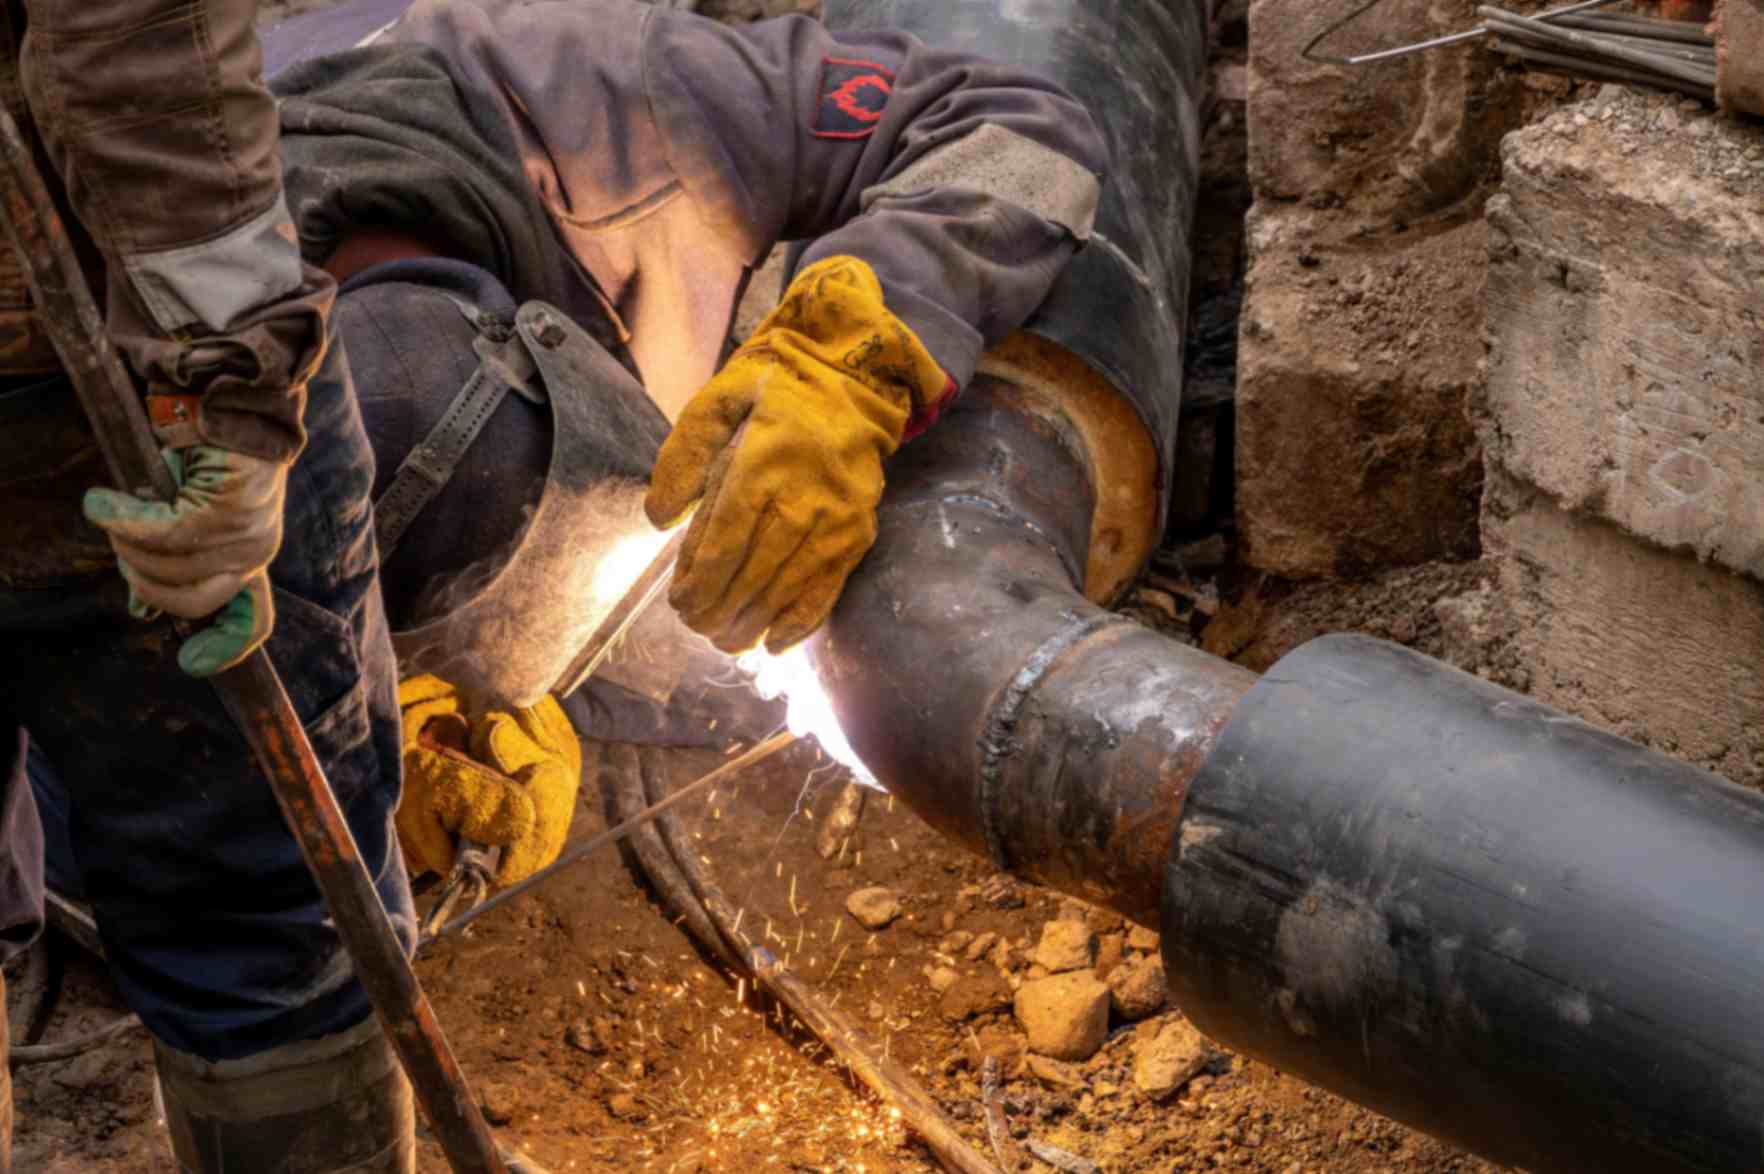
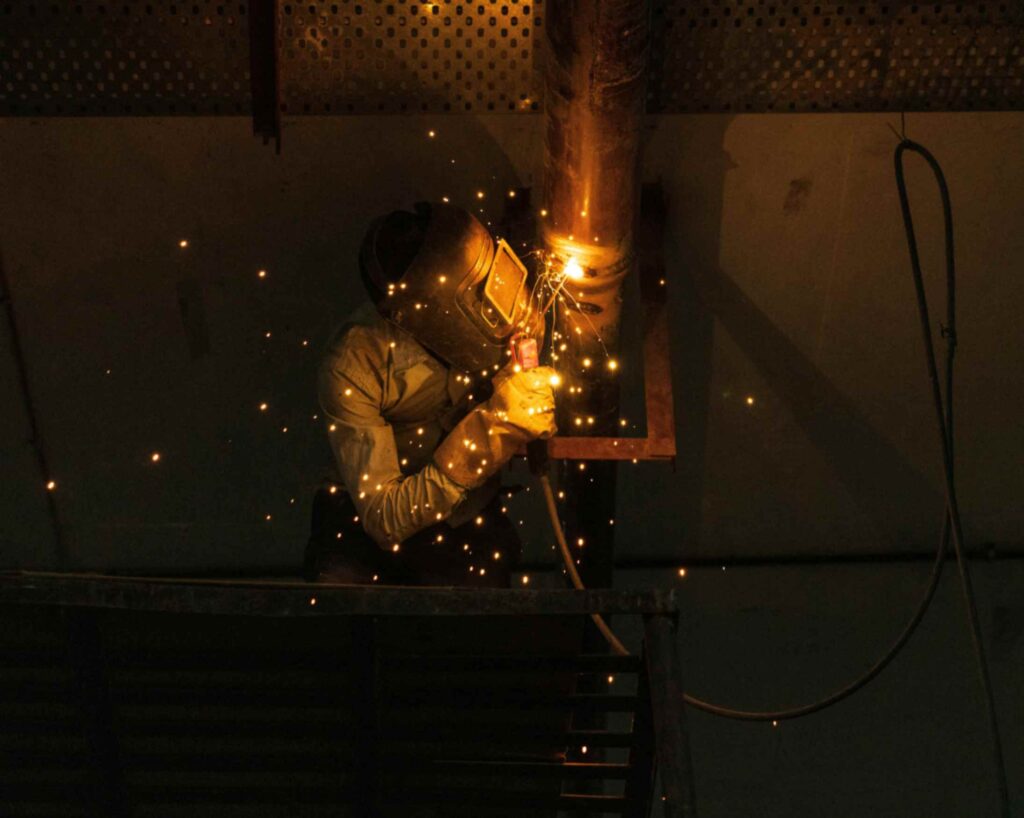
You’ve done everything right on the face of the weld – nice tight arc, good heat control, solid travel speed. Then you flip the pipe over, and there it is. That rough, crusty, sugar-crystal mess on the back side.
Sugaring is oxidation caused by oxygen reaching the hot metal during welding. It weakens the joint, kills corrosion resistance, and is a rejectable defect in most code work. The fix is almost never “weld better” – it’s “purge better.” And most purge mistakes take less than a minute to sort out.
Here’s what’s probably going wrong.
Cranking the Flow Rate Too High
This is the most common purge mistake. More gas feels like it should mean a better, faster purge. It doesn’t.
Argon displaces oxygen most effectively when it flows in smooth, laminar layers. Push it through too fast and the flow turns turbulent. Turbulent gas actually mixes with the air you’re trying to remove, pulling oxygen back into the purge zone. You burn through gas faster, wait longer, and still get sugaring.
The fix: Dial it back.
For most pipe work, run 5–7 litres per minute during the initial purge, then drop to 2–3 L/min once you’ve hit your target oxygen level.
For a small-diameter tube under 50mm, start at 3–5 L/min and reduce to 1–2 L/min for welding.
If you’ve been running at 15–20 L/min, try halving it – you’ll likely reach your target O₂ level quicker.
Using a Bare Hose with No Diffuser
Sticking a bare argon hose into the end of a pipe is one of the biggest reasons purges fail. Without a diffuser, gas enters as a fast, narrow jet that bounces off the pipe wall and creates turbulence. Oxygen stays trapped in pockets – especially at the top of the pipe – and you get patchy coverage right where you’re welding.
The fix: Use a proper gas diffuser, whether it’s built into your purge plug or attached to the end of your supply line. It breaks the gas into a gentle, even spread across the full bore of the pipe, creating laminar flow that pushes oxygen out smoothly. You’ll reach your target oxygen level faster and with far less gas.
Purging the Entire Pipe
If you’re taping up both ends of a 6-metre run and flooding the whole thing with argon to weld one joint, you’re purging litres of internal volume when you only need to protect a few centimetres either side of the weld.
The fix: Use purge dams or a dual-seal system to isolate a small zone around the joint – typically 100–200mm on either side. A TIG welding purge kit with properly sized dams will pay for itself in gas savings within the first few jobs. Not sure whether a plug-style or pull-through system suits your work? Our comparison of tube purge kits vs pull-through purge kits covers the pros, cons, and best use cases.
Poor Sealing Around the Joint
Leaks are silent argon killers. Every gap in your seal is an entry point for oxygen and an exit point for expensive gas. Poor sealing means the purge never reaches the target O₂ level, or it gets there and can’t hold.
The fix: Seal around the weld joint with halogen-free, high-temperature aluminium tape. Regular masking tape breaks down at welding temperatures and can off-gas contaminants into the purge zone. Duct tape is worse – the adhesive melts, and the vapours contaminate the weld. Check your gas supply lines too. Fittings, regulators, and hose connections are all potential leak points. A quick soapy water check before you start saves a surprising amount of gas over a shift.
Using the Wrong Size Purge Plug
A 2″ dairy tube, a 2″ Schedule 10 pipe, and a 2″ Schedule 40 pipe all have different internal diameters, even though the nominal size is the same. An undersized plug won’t seal properly. An oversized plug won’t seat at all. Either way, your purge is compromised.
The fix: Match your plug to the actual internal diameter, not the nominal pipe size. If you work across multiple pipe types, our guide on dairy tube vs Schedule 10 vs Schedule 40 explains the differences and helps you pick the right kit.
Starting Before the Purge is Complete
Argon is colourless and odourless. You can’t see it doing its job. So welders guess – “five minutes should do it” – and sometimes it’s not enough.
The old lighter trick? That only tells you oxygen is below about 18%, roughly 180,000 ppm. For sanitary stainless work, you need below 50 ppm. That’s a very different number.
The fix: Use an oxygen monitor. A decent purge monitor measures down to 10 ppm and tells you exactly when to start welding. No more running gas for an extra five minutes “just in case.” Over a week’s work, that adds up to a lot of saved argon. Check out this blog on how to reduce argon usage when purging pipes for more information.
Dropping the Purge Too Early
You weld a clean root pass, then stop the gas for the second pass because “the root’s sealed.” But on a thin-wall pipe, the heat from the hot pass can still push through and oxidise the inside.
The fix: Maintain your purge until at least the second pass is complete. The gas cost is minimal compared to cutting out a sugared joint and starting again.
Fix It at the Setup, Not the Weld
Sugaring isn’t a welding skill issue; it’s a purge control issue.
The welders who consistently turn out clean, sugar-free joints don’t rely on luck. They take the extra minute to get the purge right before striking an arc. The right equipment. The right flow rate. Proper sealing. And a monitor that confirms the oxygen level is actually where it needs to be. Because prevention is faster than repair.
Every sugared weld you avoid means no grinding, no rework, no failed inspections, and no wasted labour. That’s time saved. That’s money protected. That’s jobs delivered right the first time.
If you want consistent results, start with the right purge setup.
Browse our range of TIG welding purge kits, pipe purging equipment, and oxygen monitors at Industrial Experts and get it right before you weld.


 28 Oct, 2025
 5 Nov, 2025