How to Cut and Install Foam Tape Correctly (Common Mistakes to Avoid)
Home » How to Cut and Install Foam Tape Correctly (Common Mistakes to Avoid)
15 Jun, 2026
How to Cut and Install Foam Tape Correctly (Common Mistakes to Avoid)
A control panel door that won’t seal. A vibrating enclosure leaking dust into a clean line. An HVAC duct losing pressure where the foam gasket has lifted at the corners. Nine times out of ten, the cause isn’t a defective product. It’s the way the foam tape was cut, prepped, or pressed into place.
Foam tape looks simple. Peel, stick, done. But the difference between a seal that holds for five years and one that fails in five weeks comes down to small details that get skipped under deadline pressure: surface prep, blade choice, stretch tension, and roller pressure. Get those right, and a properly specified adhesive foam tape will outlast the equipment it’s sealing.
Let’s take a look at how to cut and install foam tape correctly, and the specific mistakes that cause most failures.
Core Takeaways:
Surface preparation is the single biggest cause of foam tape failure. Clean with isopropyl alcohol and let it flash off completely before installing.
Cut foam tape with a sharp blade in a single pass, never with dull scissors that compress the cell structure.
Don’t stretch the tape during application. Tension causes shrink-back, edge lift, and seal failure within weeks.
Apply firm, uniform pressure with a roller to activate pressure-sensitive adhesives. Acrylic PSAs typically need 24 to 72 hours to reach full bond strength.
Match the foam tape material (EPDM, neoprene, PU, silicone) to the operating environment. The wrong choice fails fast, regardless of installation quality.
Why Foam Tape Installation Makes a Difference
Adhesive foam tape relies on three things working together: a clean substrate, full adhesive contact, and the foam compressing into its designed range. If any of those fail, the seal fails, even if the other two are perfect.
In industrial settings, failures show up as ingress protection ratings dropping below spec, dust contamination in sensitive equipment, vibration and noise, or coolant and condensate weeping past enclosure doors. The fix is rarely a better product; it’s a better technique.
Mistake 1: Skipping Surface Preparation
This is the most common failure point, and the one that’s easiest to avoid. Pressure-sensitive adhesives need direct contact with the substrate to bond. Any dust, oil, mould release, silicone overspray, or moisture sitting on the surfaces creates a release layer between the adhesive and the metal.
Wipe the bonding surface with isopropyl alcohol (IPA) at 70% or higher concentration. Use a clean, lint-free cloth. Wait for the IPA to flash off completely before applying the tape, usually 30 to 60 seconds.
Avoid methylated spirits with additives, water-based cleaners that leave residue, or compressed air alone. Air blows dust around, leaving the oil film that contaminates most factory-finished surfaces intact.
For powder-coated, plastic, low-surface-energy substrates, you may need a primer or a high-track acrylic adhesive grade. Test a sample before committing to a full production run.
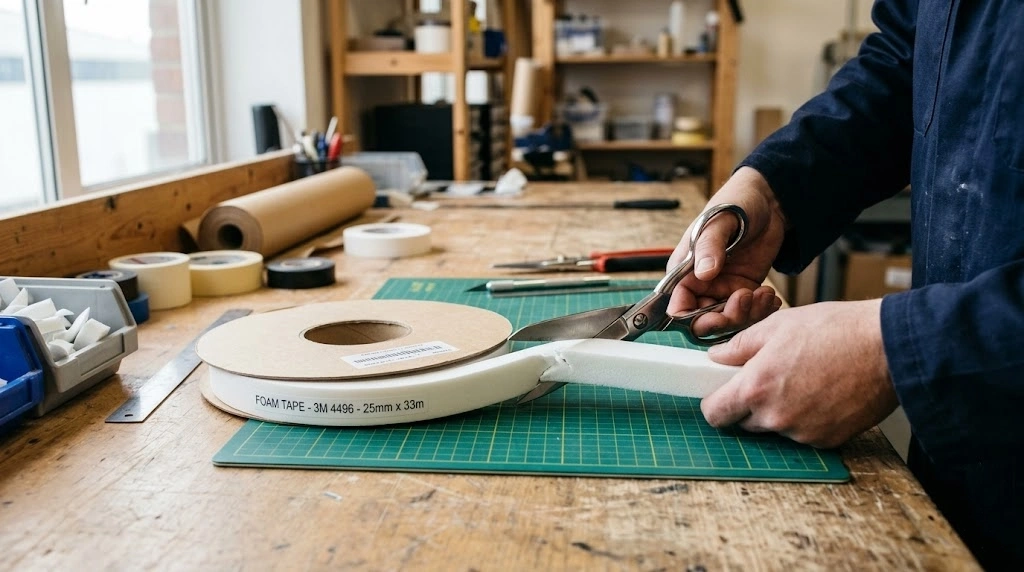
Mistake 2: Cutting Foam Tape with the Wrong Tool
Dull scissors crush the cell structure on either side of the cut, leaving compressed edges that won’t recover and won’t seal. Office snips, blunt utility blades, and worn rotary cutters do the same thing.
Use a fresh, sharp utility knife or a single-edge razor blade. Cut against a clean steel rule on a self-healing mat, in a single straight pass. For thicker grades or denser closed-cell material, a sharper, longer blade gives a cleaner cut than repeated short strokes.
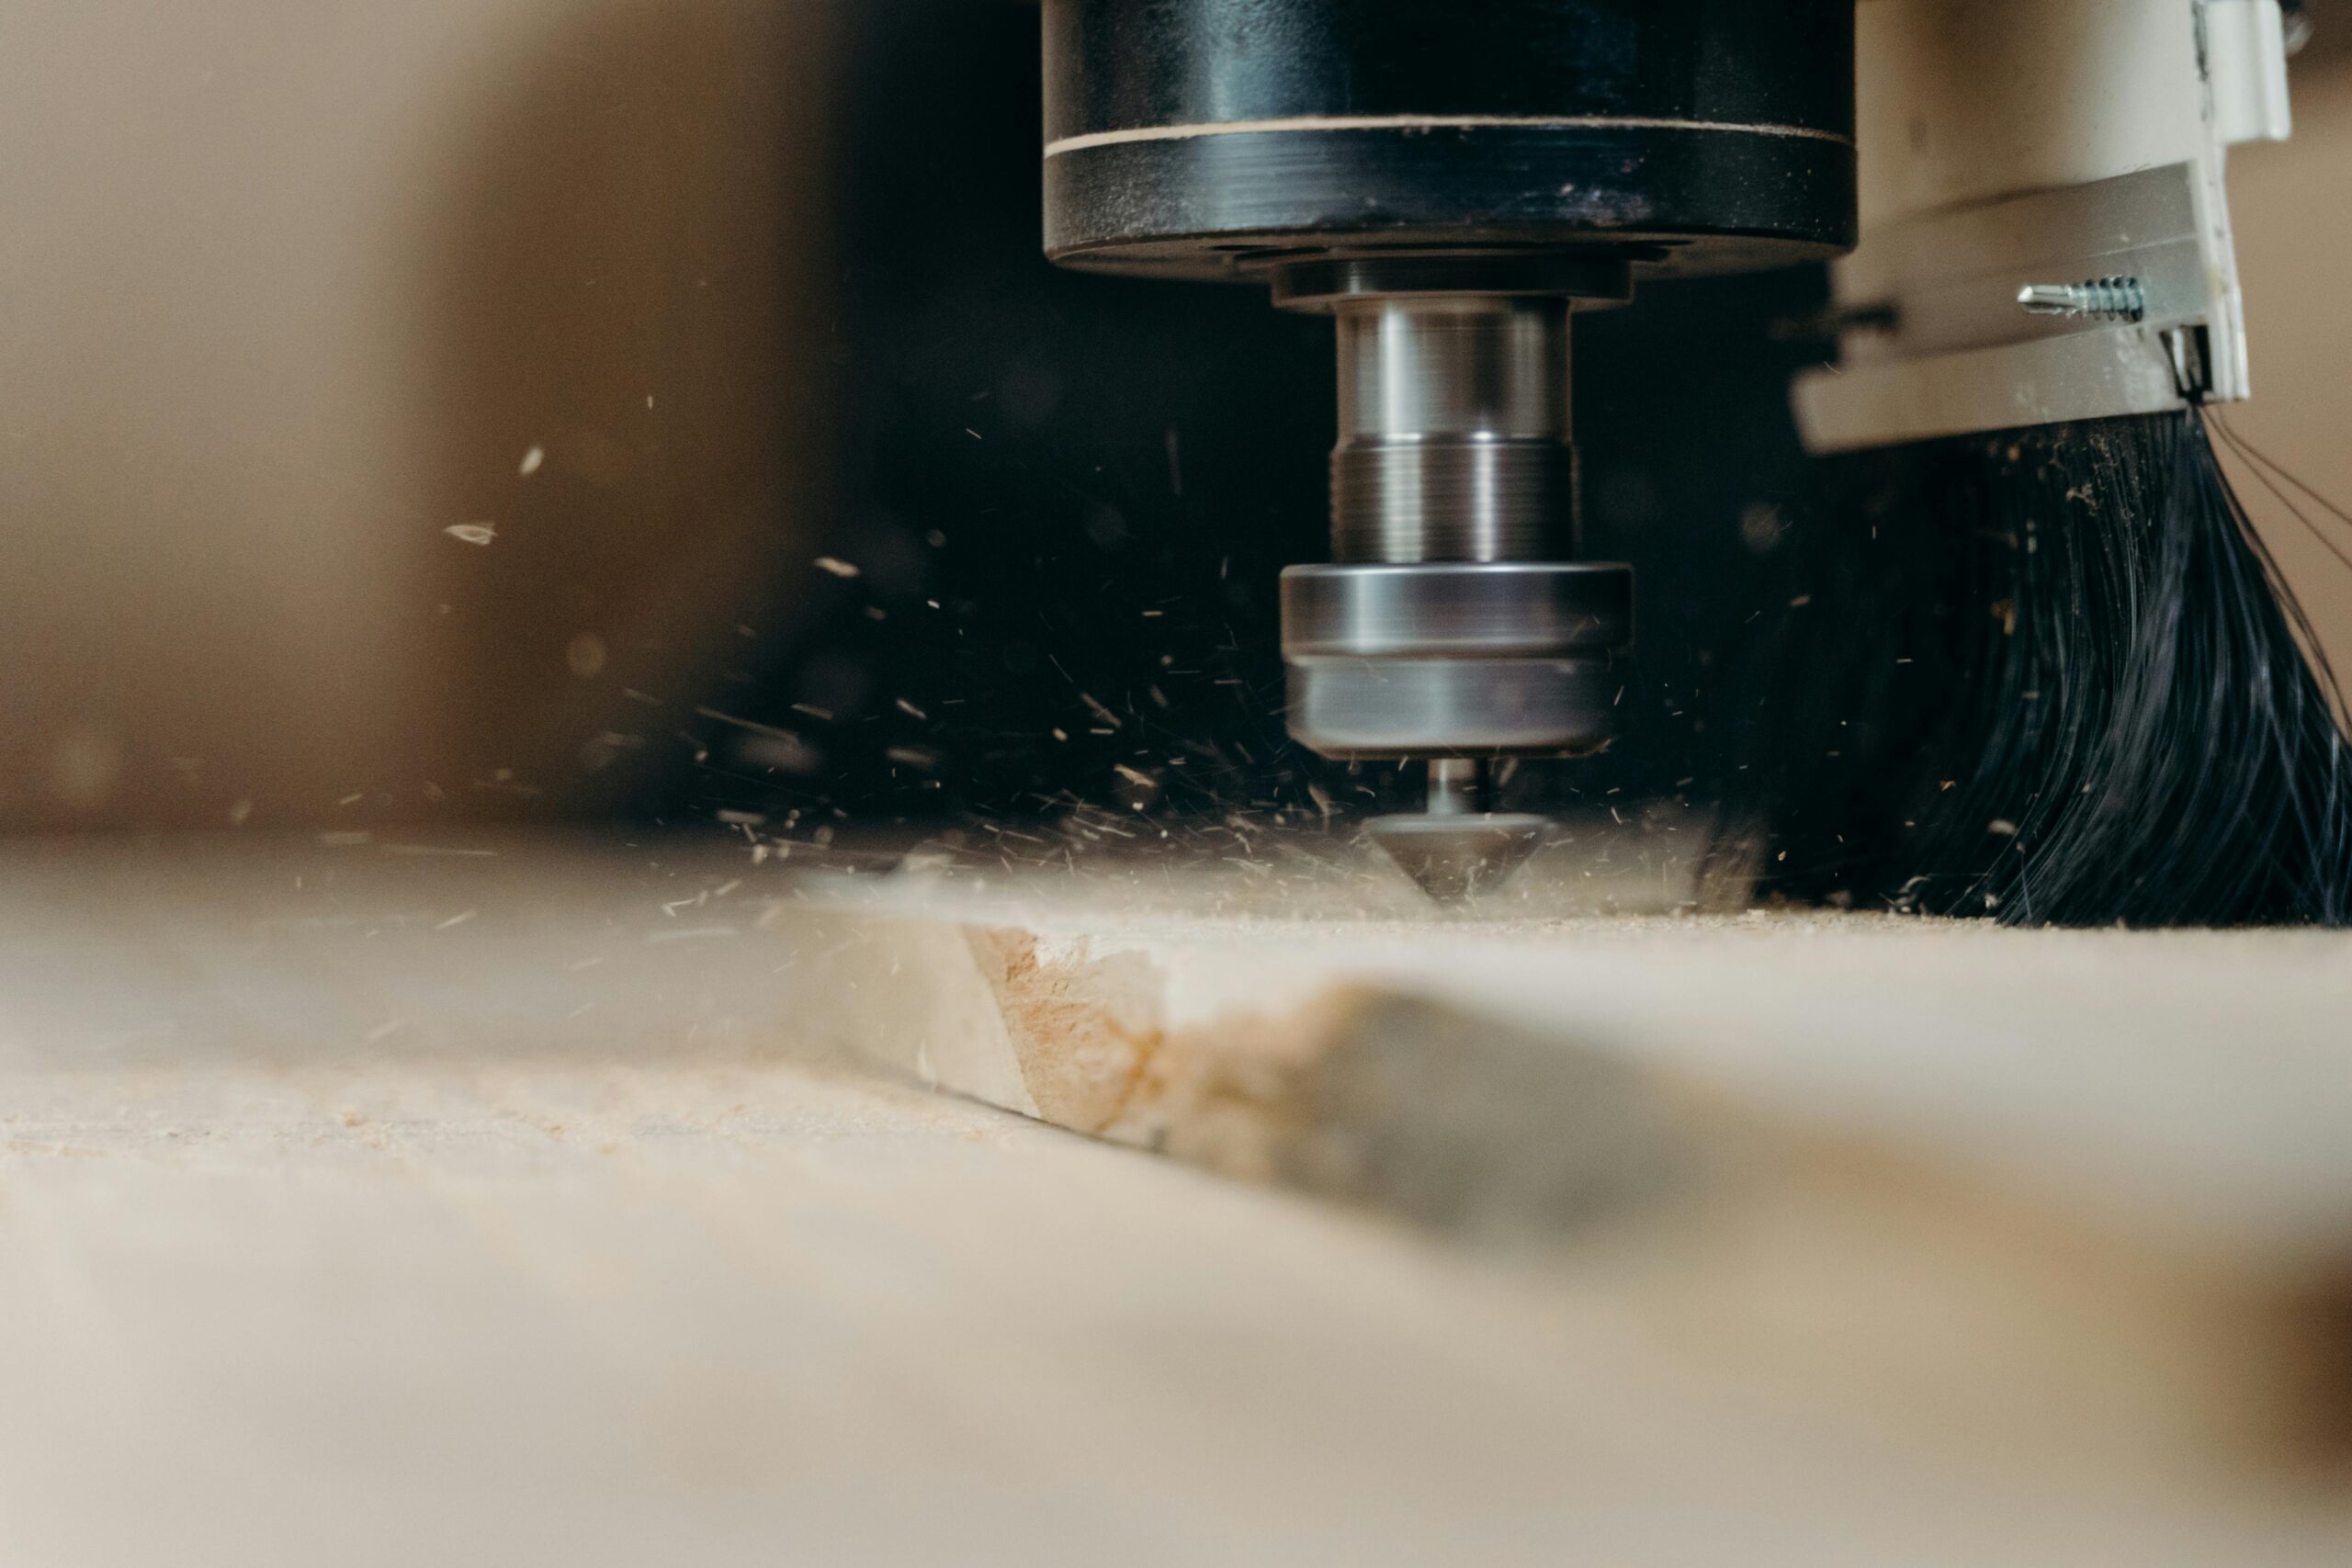
For high-volume or complex shapes, the right tool is a CNC oscillating knife, not hand-cutting. The vertical blade slices cleanly through foam of any density without heat distortion or edge compression damage.
Avoid pulling the tape taut while cutting it. Tension distorts the cut line, so the strip comes off the roll already pre-stretched, which leads straight into the third mistake.
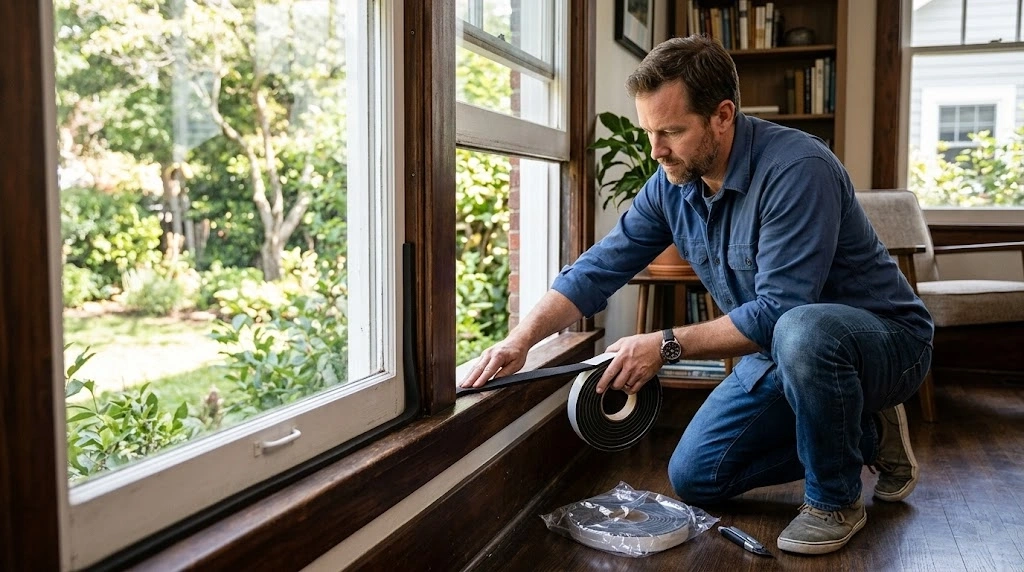
Mistake 3: Stretching the Tape During Installation
This one is subtle but very common. When foam tape is pulled tight as it goes down, the foam and adhesive carry stored tension. Over the next few hours or days, that tension pulls the tape back toward its original length. The result is edge lift, corner gaps, and seal failure long before the material itself has aged out.
Lay the tape down loosely. Let it follow the surface’s contour without forcing it. Around bends, life and reposition rather than stretching through the curve.
Avoid pulling from a roll while pressing the leading edge. If you need to maintain straight alignment, use a guideline marked on the substrate, not tape tension.
Mistake 4: Insufficient (or Excessive) Pressure
Pressure-sensitive adhesives don’t bond on contact. They need pressure to flow into the substrate’s microscopic surface texture, a process called wet-out. Light hand pressure won’t do. Standard guidance from 3M and similar manufacturers recommends an application pressure of around 15 psi to achieve a reliable bond.
Use a hand roller or seam roller, working from the centre out. Apply firm, even pressure along the full length. For long runs, a press or platen gives more consistent results than hand application. Then leave the assembly undisturbed for at least 24 hours, longer in cold conditions, to let the adhesive reach full strength.
Avoid crushing the tape under excessive compression. Foam tape is designed to operate within a specific compression range, typically 25% to 50% of original thickness. Going beyond that collapses the cells and removes the rebound force on which the seal depends. If your enclosure is over-compressing the gasket, you need a different thickness or density, not more clamping force.
Mistake 5: Installing in the Wrong Conditions
Acrylic PSAs need a substrate temperature of around 15°C or higher to wet out properly. Below that, the adhesive stays glassy and won’t flow. The tape feels stuck, but the bond is poor, and it’ll lift later.
Pre-warm the tape and substrate to room temperature before installing. For cold workshops or outdoor winter jobs, plan installation around heated work areas. High humidity is the other watch-out. Condensation on a cold metal surface instantly kills adhesion.
Mistake 6: Choosing the Wrong Foam for the Job
Even a perfect installation can’t rescue the wrong material. EPDM handles UV and weather but swells in oils. Neoprene resists oils but degrades faster outdoors. PU foam cushions and dampens vibration, but breaks down under sunlight. Silicone takes high temperatures but costs more and tears more easily during installation.
The choice between open-cell and closed-cell foam also matters. Closed-cell seals air and water, while open-cell breathes and absorbs sound, but won’t keep moisture out. Specifying the wrong cell structure for the application is one of the most common reasons foam gaskets fail in the field.
Handling Corners and Joints
Mitre cuts at corners and are stronger than butt joints because they distribute compression loads across a longer bond line. For square enclosure frames, a 45° mitre on each end of the strip gives a continuous seal with no gap at the corner.
If butt joining is unavoidable, place the join on a long run, not at a corner, and press the join firmly together as you lay the tape down. Don’t overlap. Stacked foam compresses unevenly, creating a high spot that prevents the lid from seating properly.
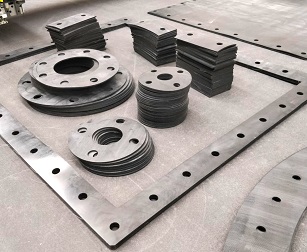
When Custom Cutting Pays Off
Hand-cutting foam tape works for small jobs and prototypes. For repeatable production, bolt-hole patterns, gasket shapes, or anything that needs to drop straight onto the line, a CNC-cut gasket eliminates the variability of hand work. Tolerances of ±0.1 to ±0.2 mm are standard; every part comes out identical, and assembly time drops because operators aren’t trimming and adjusting on the bench.
This is especially worth considering for any sealing job where ingress protection ratings, audit traceability, or warranty performance matter.
Get Foam Tape Cut Right the First Time
The best foam tape installation is the one you don’t have to come back and fix. Get the prep, the cut, and the pressure right, and a properly specified tape will hold for the life of the equipment.
If you’re specifying foam tape for an industrial sealing job, the cleanest solution is to have it supplied cut to size. Industrial Experts run CNC oscillating knife cutting in-house and supply foam tape, gasket strips, and custom-cut profiles in EPDM, neoprene, PU, silicone, and PVC, with adhesive backing applied to your spec.


 28 Oct, 2025
 5 Nov, 2025