How to Reduce Argon Usage When Purging Pipe (Gas-Saving Setup Guide)
Home » How to Reduce Argon Usage When Purging Pipe (Gas-Saving Setup Guide)
28 Mar, 2026
How to Reduce Argon Usage When Purging Pipe (Gas-Saving Setup Guide)
Argon isn’t cheap, and it’s not getting any cheaper. If you’re TIG welding stainless steel, duplex, or nickel alloys, you’re already spending a fair chunk on shielding gas. But the real waste often happens on the purge side, where poor setup habits can burn through two or three times the argon you actually need.
The good news? You don’t need to spend a fortune on new gear to reduce argon usage when purging pipe. A few straightforward changes to your setup and technique can cut your gas consumption dramatically without compromising weld quality.
Here’s how.
Reduce Your Purge Volume
This is the single biggest thing you can do to save argon, and it’s where most welders leave money on the table.
If you’re taping up both ends of a 6-metre pipe run and flooding the entire thing with gas just to weld one joint, you’re purging five or six litres of internal volume when you only need to protect a few centimetres either side of the weld.
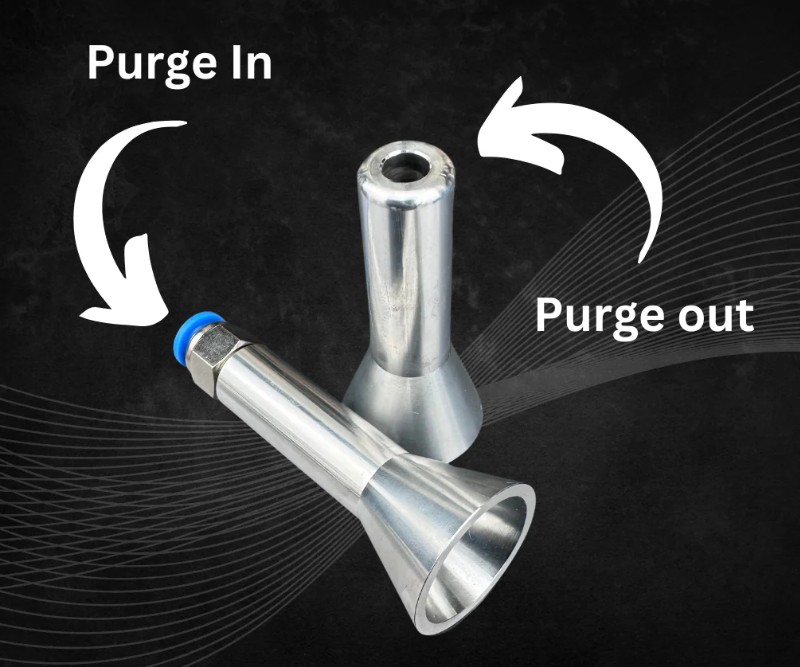
Use purge dams or a dual-seal system to isolate a small zone around the joint – typically 100–200mm on either side. This reduces the volume you need to fill from litres down to a fraction of a litre. The result? Faster purge times and dramatically less gas.
A pipe welding purge kit with properly sized dams or plugs will pay for itself in gas savings within the first few jobs. If you’re not sure whether a plug-style kit or a pull-through system makes more sense for your work, our comparison of tube purge kits vs pull-through purge kits covers the pros, cons, and best use cases for each.
Get Your Flow Rate Right
This is where a lot of welders go wrong – and it’s counterintuitive. More gas doesn’t mean a better purge. In fact, cranking up the flow rate is one of the fastest ways to waste argon and worsen results.
Here’s why: argon displaces oxygen most effectively when it flows in smooth, laminar layers. When you push it through too fast, the flow turns turbulent. Turbulent gas actually mixes with the air you’re trying to displace, pulling oxygen back into the purge zone. You end up using more gas, waiting longer, and still not hitting your target O₂ level.
Recommended flow rates for most pipe purging:
Initial purge (displacement phase): 5–7 litres per minute. This is enough to steadily push oxygen out without creating turbulence.
Welding flow (maintenance phase): 2–3 litres per minute. Once you’ve hit your target oxygen level, dial it right back. You only need enough gas to maintain positive pressure and keep oxygen from creeping back in.
Small-diameter tube (under 50mm): Start at 3–5 L/min and reduce to 1–2 L/min for welding.
A common mistake is purging at 15–20 L/min because it “feels” like it should work faster. It doesn’t. You’ll burn through gas and create turbulence that works against you. Start slow, be patient, and let the argon do its job.
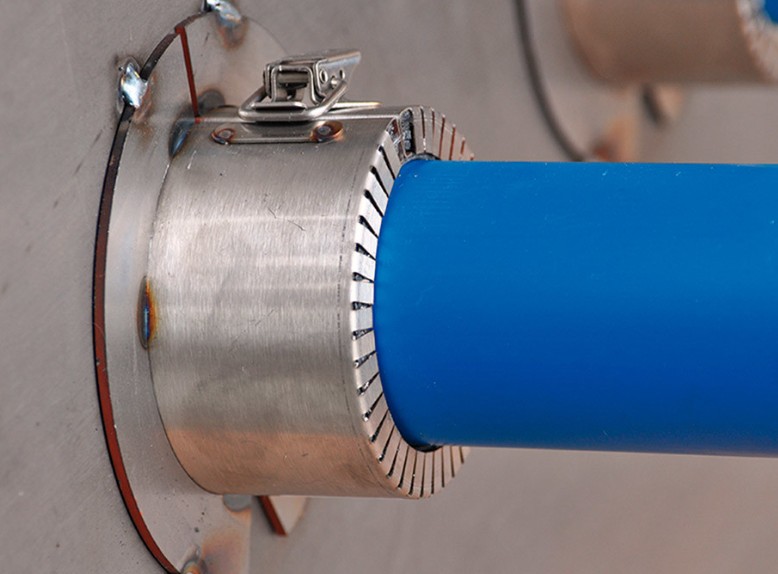
Use a Diffuser
Sticking a bare argon hose into the end of a pipe and hoping for the best is probably the most common purging mistake in the trade. Without a diffuser, gas enters the pipe as a fast, narrow jet. That jet creates turbulence, bounces off the pipe wall, and mixes with the air inside instead of pushing it out smoothly.
A proper gas diffuser (whether it’s built into your purge plug or attached to the end of your supply line) breaks the gas flow into a gentle, even spread across the full bore of the pipe. This creates laminar flow, which means the argon settles to the bottom (it’s heavier than air) and steadily rises, pushing oxygen out through the exhaust.
The difference is significant. With a diffuser, you can reach your target oxygen level in a fraction of the time and with substantially less gas than a bare hose setup.
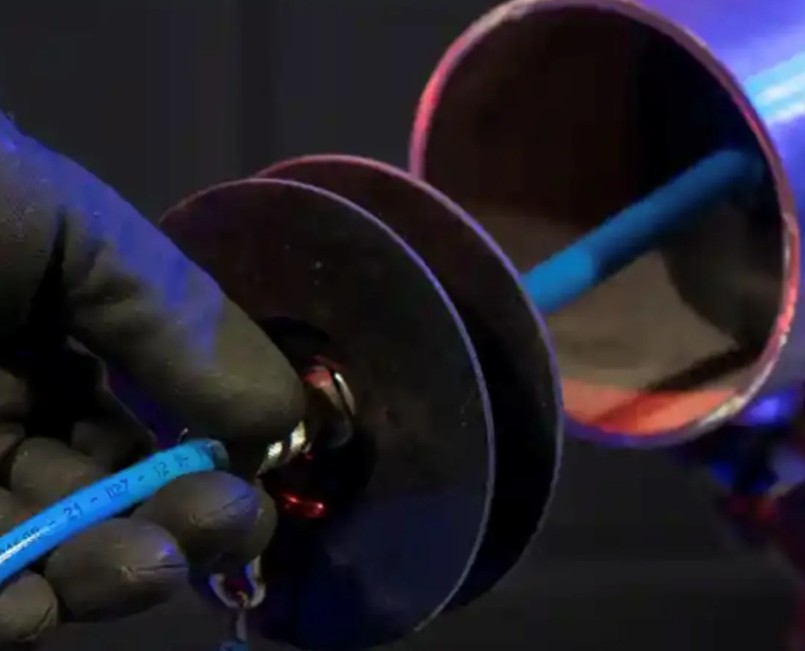
Seal Your Joints Properly
Leaks are silent argon killers. If your purge zone isn’t properly sealed, you’re losing gas through every gap, and oxygen is finding its way back in. That means you end up purging longer and using more argon to compensate.
Use halogen-free, high-temperature aluminium tape to seal around the weld joint and any open connections near the purge zone. Regular masking tape or duct tape won’t cut it. Standard adhesives can off-gas at welding temperatures, introducing contaminants into the purge zone that can affect weld quality. Duct tape adhesive also melts and makes a mess.
For flanged connections in process piping, quality industrial sealing solutions and properly specified gaskets help maintain the sealed environment needed for an efficient purge. Even a small leak at a flanged joint near your weld zone can undermine an otherwise well-planned purge setup.
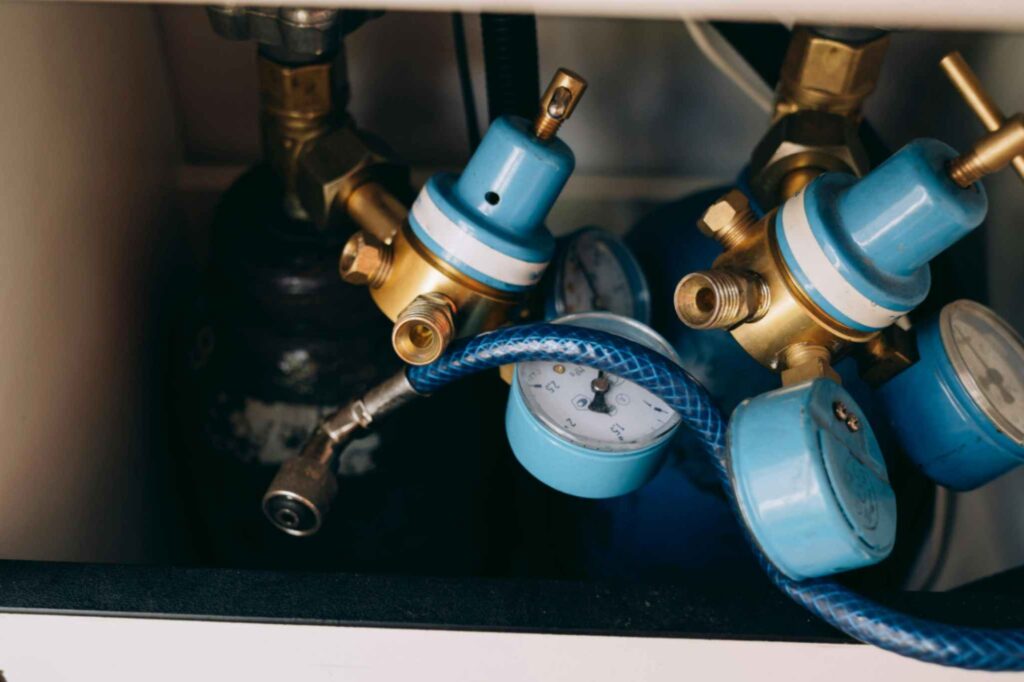
Check your gas supply lines too. Fittings, regulators, and hose connections are all potential leak points. A quick check with soapy water before you start can save you a surprising amount of gas over a shift.
Match Your Purge Kit to Your Pipe Size
Using a purge plug or dam that doesn’t quite fit the internal diameter of your pipe is a guaranteed way to waste argon. An undersized plug won’t seal properly, so gas escapes around the edges. An oversized plug won’t seal at all.
Most quality purge kits come with colour-coded plugs sized to specific tube and pipe diameters. But here’s the catch – a 2″ dairy tube, a 2″ Schedule 10 pipe, and a 2″ Schedule 40 pipe all have different internal diameters, even though the nominal size is the same. Using the wrong plug for the wrong pipe schedule means a poor seal and wasted gas.
If you’re working across multiple pipe types, our guide on dairy tube vs Schedule 10 vs Schedule 40 explains the differences and helps you select the right purge kit for each.
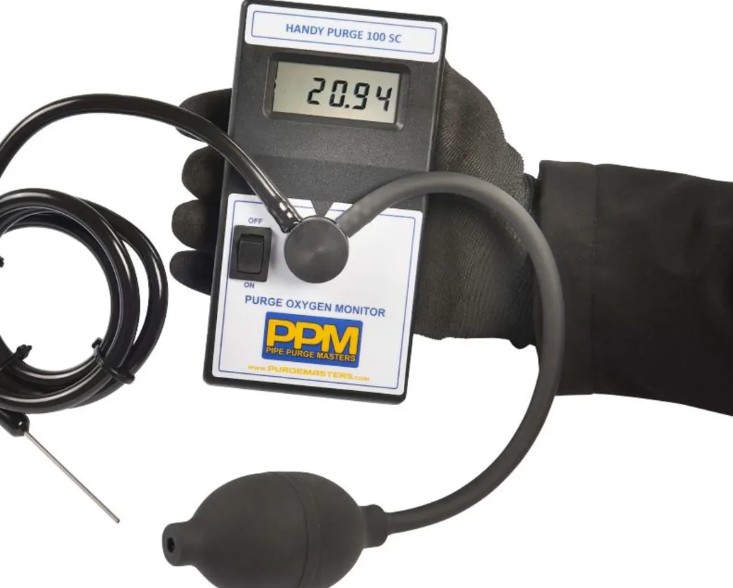
Use an Oxygen Monitor
This one might seem like an extra expense, but an oxygen monitor is one of the best investments you can make for reducing argon usage. Without a monitor, you’re guessing. And when you’re guessing, you almost always over-purge – running gas for longer than necessary “just to be safe.”
A decent purge monitor measures oxygen levels down to 10 ppm or lower and tells you exactly when you’ve reached your target. For sanitary stainless work, that’s typically below 50 ppm. For general structural stainless, you might be fine at 500 ppm or less, depending on the spec.
Once you can see real-time O₂ readings, you’ll know exactly when to start welding and exactly how much maintenance flow you need during the weld. No more running gas for an extra five minutes “just in case.” Over the course of a week’s work, that adds up to a lot of saved argon.
Quick Gas-Saving Checklist
Before your next purge, run through these points:
Purge zone isolated? Use dams, plugs, or a dual-seal system – never purge the entire pipe if you don’t have to.
Flow rate set correctly? 5–7 L/min to purge, 2–3 L/min to weld. Resist the urge to crank it.
Diffuser in place? Laminar flow saves time and gas compared to a bare hose.
Joints sealed? Halogen-free aluminium tape on the weld gap, no leaks at fittings or supply lines.
Correct plug size? Matched to actual internal diameter, not nominal pipe size.
Monitoring oxygen? Know when you’ve hit the target – don’t over-purge on guesswork.
Save Gas with Industrial Experts
Reducing argon usage when purging pipe isn’t about skipping steps or accepting worse welds. It’s about being smarter with your setup. The welders who save the most gas are the ones who take an extra minute to set up properly – right-sized equipment, correct flow rates, good seals, and a monitor to tell them when the job’s done.
Every litre of argon you don’t waste is money back in your pocket or your client’s. And the welds? They’ll be just as clean, if not cleaner.


 28 Oct, 2025
 5 Nov, 2025